Floral Border: A Thoughtful Embroidery Design Review
As a designer who’s stitched hundreds of custom pieces—from boutique aprons to Etsy bestsellers—I opened Floral Border with quiet curiosity, not hype. I wasn’t looking for “pretty.” I was asking: *Will this hold up on a real sweatshirt hem? Will it read clearly on a baby onesie? Does it feel intentional—not just decorative, but purpose-built for handmade products?*
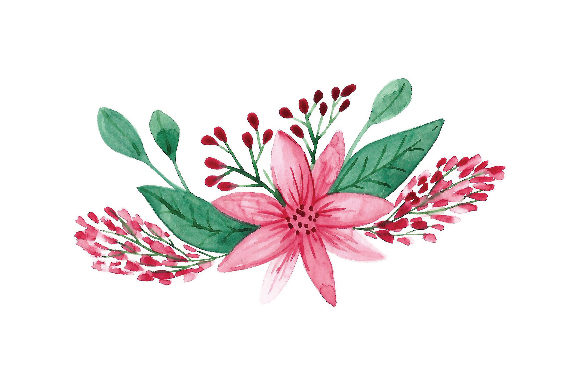
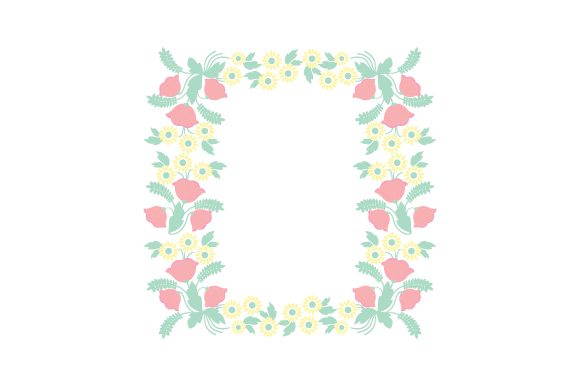
First impression? It’s quietly confident. Not fussy, not minimal—but balanced. The motif flows in a gentle, continuous arc, with soft petal shapes and subtle leaf connectors that suggest growth rather than rigidity. There’s breathing room between elements—no visual crowding—so it reads well at both 3” and 8” widths. That matters. Too many floral borders collapse into a blur when scaled down for a tea towel edge or cap brim. Floral Border doesn’t. Its rhythm feels organic, not algorithmic.
Where It Lives Best: Real Projects, Not Just Mockups
I tested it as a finished border on a linen-cotton blend tote bag—hand-stitched mockup first, then machine-embroidered on the final piece. The result? Crisp, dimensional, and unmistakably handmade. The curves translated cleanly; no puckering at the turns, no thread nesting in the inner corners. That tells me the stitch path is well-ordered—likely built with satin and fill stitch logic that respects fabric drape.
It shines on relaxed, natural-fiber items: aprons with wide hems, pillow covers where the border frames a central motif, kitchen towels folded just so. On a cream-colored baby blanket, it added warmth without overwhelming—soft enough for nursery decor, detailed enough to feel special. For holiday embroidery, I’d pair it with a simple monogram or tiny ornament icon inside the curve. For wedding gifts? Stitch it in ivory thread on oatmeal linen napkins—it reads elegant, not cutesy.
For Etsy sellers and small shop owners, Floral Border is a quiet workhorse. It’s versatile enough to anchor a product line (think matching tea towels + oven mitts + aprons), yet distinctive enough to become part of your brand’s visual shorthand—especially when paired with consistent thread colors and fabric choices.
Where to Pause—and Why
Don’t rush this onto stretchy fabrics like jersey or lightweight knits without testing. The design’s gentle curves rely on stable tension; on un-stabilized stretch, those leaf tips can distort or float. Use a medium-weight cutaway stabilizer underneath—and consider shortening the border slightly if placing it near a seam or curved edge like a cap bill.
Thin fabrics (like voile or rayon challis) need extra care. The fill stitch density isn’t extreme, but those petal centers do carry more coverage than a running-stitch vine would. Always run a test on scrap with your exact fabric + stabilizer combo. And on dark fabrics? Check how the satin stitch reflects light—some threads dull on charcoal or navy. A quick black-and-white mockup helps spot contrast issues before hooping.
Avoid cramming Floral Border into tiny hoop sizes (<4”). The smallest delicate elements—those slender stem connectors and petal edges—lose definition below 3.5”. If you’re making embroidered patches or iron-ons, stick to 5”+ hoops for clean, sellable results.
What It Adds Beyond Pretty: Trust, Value, and Quiet Professionalism
Customers notice craftsmanship—not just what’s stitched, but how it *behaves*. A border that lies flat, stitches evenly, and holds its shape after washing signals care. That builds trust, especially for personalized gifts or boutique merchandise. When someone buys a hand-embroidered baby onesie with Floral Border along the cuff, they’re not just buying thread and fabric—they’re buying reassurance that this item was made thoughtfully, meant to last.
For craft businesses, that translates directly to perceived value. A well-executed border elevates a simple tote from “nice” to “worth gifting.” It supports brand consistency across product categories—same motif, different applications—and makes digital product previews (like printable mockups for your Etsy listings) look cohesive and polished.
Practical Designer Notes Before You Stitch
- Always test on scrap fabric—same type, same stabilizer, same thread colors you’ll use in production.
- Review stitch density visually in your embroidery software. Look for dense clusters that might cause stiffness on wearable items.
- Confirm hoop size compatibility early—Floral Border works beautifully in 5x7” and larger, but verify minimum dimensions before digitizing adjustments.
- Inspect small details at 200% zoom: Are petal edges smooth? Do leaf points land cleanly, or do they taper into ambiguity?
- Try black-and-white mockups. If it reads strongly in grayscale, it’ll translate across fabric tones and lighting conditions.
- Use proper stabilizer—especially for textured fabrics like terry cloth or bouclé. A tear-away alone won’t support those flowing curves.
- Check licensing terms before selling finished items or reselling the digital embroidery file. Designs Amp lists this under Crafts, but confirm commercial rights apply to your use case.
At its core, Floral Border isn’t just another machine embroidery design—it’s a design asset with intention. It respects the maker’s time, the fabric’s behavior, and the customer’s eye. Whether you’re stitching one-of-a-kind personalized gifts or building a repeatable small shop product line, it delivers clarity, charm, and quiet confidence. Not flash. Not fuss. Just thoughtful, stitch-ready design—exactly what a working embroidery designer needs.